.png)
So your Shopify shop has been around for a little bit now. You're making some sales, people are happy customers, but you just can't predict revenue. Some months are good, others are not. Tiring, isn't it?
With the help of a subscription program on your Shopify store, you'll be able to secure a regular income. This approach is beneficial for your business in many ways. You don't have to look for fresh customers each month as your subscribers keep coming to your shop automatically.
In this article, we'll tell you how to add a subscription app to Shopify stores in 2026. No technical expertise required! We'll give reasons to consider Utterbond as one of the best Shopify subscription apps. Besides, we'll explain how to install it properly.
So, let's dive in.
Why Should You Add Subscriptions App for Shopify Store?
Before we jump into the "how," let's quickly talk about the "why" because understanding the business case makes every step that follows feel more intentional.
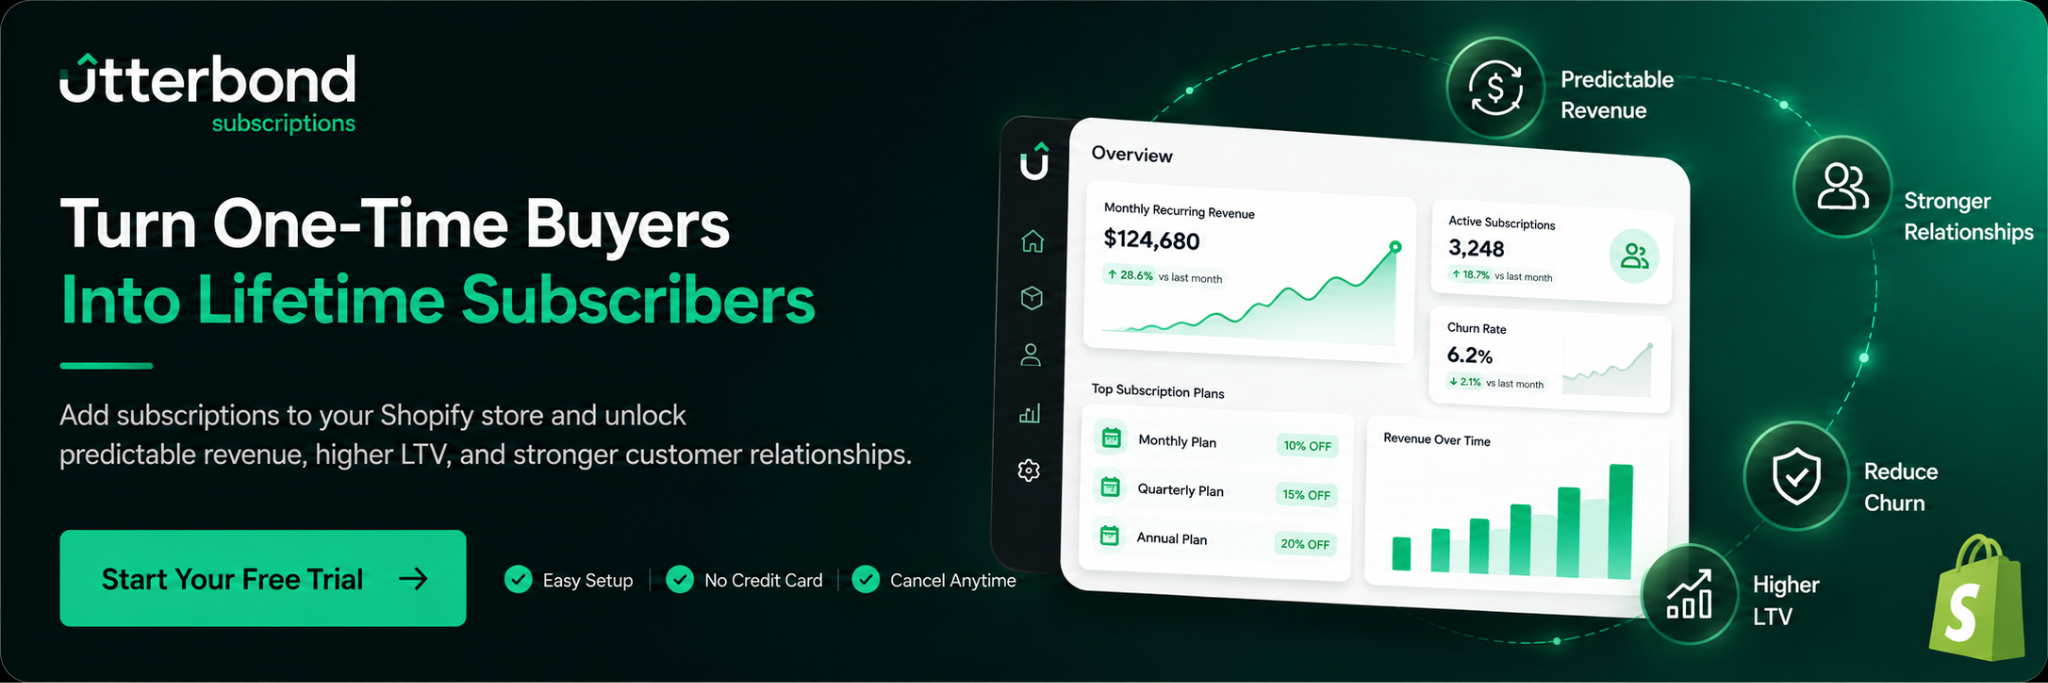
Predictable revenue. With 100 active subscribers providing you with monthly payments, you have an idea of what you'll earn in advance, and that will change the way you order inventory, allocate marketing budgets, and hire staff.
Higher LTV. Your LTV will become much higher than with non-subscribing customers since you don't need to invest marketing money to lure them again.
Stronger relations with customers. Your customers become habitual buyers due to the subscription. They'll receive your product monthly, making your brand a constant presence in their life.
Reduced risk of churn. Indeed, the customers may cancel their subscription at any point in time. But if you choose a proper subscription app for Shopify, you'll be able to manage and reduce churn rates.
The market of subscription apps has evolved tremendously since its inception. And it's now become easier than ever to implement subscriptions on your Shopify store. One of the main differences between your current store and a subscription-enabled store is in the lack of recurring billing on Shopify by default.
What You Need Before You Start
Getting set up is simpler than most people expect. Here's what you need before you touch a single setting:
1. A Shopify store on any paid plan. Subscriptions work across all current Shopify plans: Basic, Shopify, Advanced, and Plus. You don't need to upgrade for this.
2. At least one product that makes sense as a subscription. Consider consumables, replenishables, curated boxes, or anything your customers purchase regularly. Coffee, supplements, skincare, pet food, candles, cleaning supplies, these are all natural fits. If someone already buys something from you repeatedly, that's a candidate for subscription.
3. A compatible payment gateway. Shopify Payments works natively. Stripe also supports recurring billing. Not every gateway does, so double-check yours before you start setup. You can review Utterbond's integrations to confirm compatibility with your payment provider.
4. A subscription app. This tool manages recurring billing, customer portals, subscription management, and recovering failed payments. We'll cover choosing the right one below.
That's genuinely it. You don't need a developer. You don't need to know how to write code. You don't need a custom theme.
Steps to Set-Up Subscriptions app on your Shopify Store
There are various features provided by Shopify that allow customers to easily set up subscription products via their online stores. Even though one needs an app for automating the entire process, some features of Shopify assist in managing prices, billing, and setting up the products. Let us see how we can begin.
Step 1: Choose the Right Shopify Subscription App
Since Shopify doesn't include recurring billing out of the box, you'll install a third-party app from the Shopify App Store. The app handles everything: creating subscription plans, processing recurring payments, giving customers a self-service portal, and recovering failed payments before they churn.
There are several solid options in 2026: Utterbond, Shopify subscriptions and many more apps. Each has its own pricing, feature set, and learning curve.
For merchants who are serious about subscriptions without bloated pricing or complex setup, Utterbond Subscriptions stands out as a strong choice. Here's why Utterbond is the right fit for growing Shopify stores:
- 0% transaction fees in paid plan: Unlike several competitors, Utterbond doesn't take a cut of your subscription revenue
- Built for Shopify: It carries the "Built for Shopify" badge, meaning it meets Shopify's highest standards for performance, design, and integration
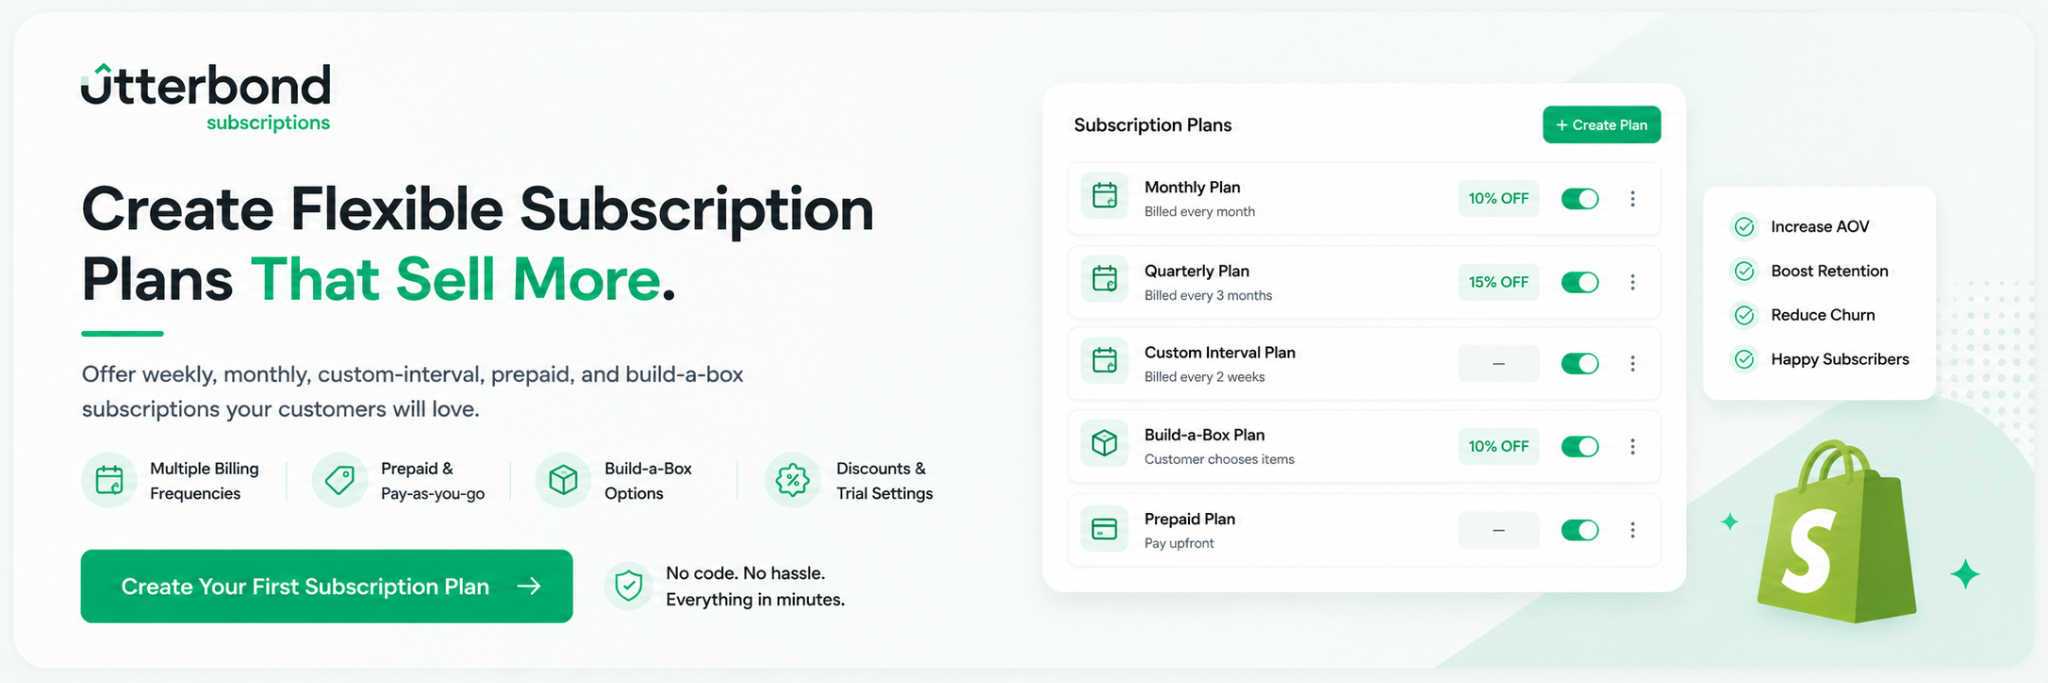
- Flexible subscription plans: You can create weekly, monthly, custom-interval, and prepaid subscription options
- Smart dunning: Automatically retries failed payments so you recover revenue that would otherwise disappear
- Branded customer portal: Your subscribers can pause, skip, swap, or cancel on their own without emailing your support team
- Build-a-Box: Let customers curate their own subscription boxes
- Tag workflow automation: Automatically tag customers and orders based on subscription events
- Advanced analytics: Understand your MRR, churn, LTV, and subscriber trends at a glance
- 24/7 support: Real help when you need it
Utterbond is rated 4.6 stars — read Utterbond customer reviews to see what merchants are saying. It's free to install with a free trial, making it low-risk to get started. Check Utterbond pricing to find the plan that fits your store's stage.
Step 2: Install Utterbond on Your Shopify Store
Installation takes about 5 minutes. Here's exactly how to do it:
1. Go to the Shopify App Store. Log into your Shopify admin, click on "Apps" in the left sidebar, then click "Shopify App Store" at the top.
2. Search for Utterbond. Type "Utterbond Subscriptions" in the search bar and click the result.
3. Click "Install." You'll see the app listing page. Hit the Install button. Shopify will show you a permissions screen explaining what the app needs access to (billing, orders, products, customers). This is standard for any subscription app. Click "Install" to confirm.
4. You'll land in the Utterbond dashboard. From here, you can start configuring your subscription plans.
Manual Installation (If Needed)
If the subscription widget doesn't appear automatically on your product pages after installation, you may need to do a manual theme integration. This sometimes happens with custom or heavily modified themes.
Here's how to manually install Utterbond on your theme:
- In your Shopify admin, go to Online Store and then Themes
- Click the three-dot menu next to your active theme and select "Edit code"
- Open the product.json or product-template.liquid file (depending on your theme)
- Locate the section where the "Add to Cart" button is rendered
- Add the Utterbond subscription widget block in that section
Utterbond's documentation at utterbond.helps guide has a step-by-step manual installation guide with screenshots if you need a visual walkthrough. Alternatively, Utterbond's support team can handle the installation for you. Just reach out via their 24/7 chat.
Step 3: Create Your First Subscription Plan
Now the fun begins. Once Utterbond is installed, you'll set up a subscription plan, the rules that define how often customers are charged, at what price, and with what discounts.
- Navigate to "Subscription Plans" in the Utterbond dashboard. Click "Create Plan."
- Name your plan. Give it a simple, customer-facing name like "Monthly Delivery," "Subscribe and Save," or "Weekly Refill."
- Set the billing interval. Choose how frequently customers will be charged: weekly, bi-weekly, monthly, every 2 months, quarterly, or a custom interval. You can create multiple plans with different intervals.
- Set the discount (optional but recommended). The most popular subscription incentive is a percentage off. A 10 to 15% discount for subscribers is a common starting point. This gives customers a clear reason to subscribe over one-time purchasing.
- Choose "subscribe and save" vs. "subscription only." You can offer a product as both a one-time purchase and a subscription, letting customers choose at the product page, or make it subscription-only.
- Save the plan. You'll then assign this plan to specific products in the next step.
Step 4: Assign the Subscription Plan to Your Products
A subscription plan doesn't do anything on its own. You need to attach it to the products you want to sell as subscriptions.
Go to "Products" in the Utterbond dashboard. Select the product you want to enable subscriptions for.
Click "Add Subscription Plan." You'll see the plans you created in Step 3. Select the appropriate plan (or multiple plans if you want to offer different billing intervals for the same product).
Save the changes. Utterbond will now automatically display the subscription widget on that product's page in your storefront.
Repeat this for every product you want to sell as a subscription. You can also bulk-assign plans to multiple products at once, which is useful if you're setting up a large catalog.
Step 5: Configure the Customer Portal
This is one of the most underrated parts of subscription setup, and it makes a huge difference for customer retention.
The customer portal is where your subscribers manage their own subscriptions. They can skip a delivery, pause their subscription temporarily, swap a product, update their shipping address or payment method, or cancel if they choose to.
If customers can't self-serve, they'll email your support team. Or worse, they'll issue a chargeback. A well-configured customer portal reduces churn by giving subscribers control and flexibility without friction.
In the Utterbond dashboard, go to "Customer Portal" settings. Here you can:
- Brand the portal to match your store's colors, logo, and fonts
- Enable or disable specific actions such as allowing pausing but not cancellation without going through a retention flow
- Set up a cancellation flow so instead of a one-click cancel, subscribers are presented with options: a skip, a pause, a discount, or a swap. This alone can save a significant portion of would-be cancellations
- Configure the portal URL which by default is accessible from the customer's account page in your Shopify store
Take 5 minutes to set this up properly. It's worth it.
Step 6: Set Up Smart Dunning (Failed Payment Recovery)
Failed payments are one of the biggest silent killers of subscription revenue. A card expires, a payment declines, and if nothing happens, that subscriber quietly churns.
Utterbond's Smart Dunning feature handles this automatically. When a payment fails, it:
- Retries the charge at intelligent intervals
- Sends automated email notifications to the customer asking them to update their payment method
- Pauses the subscription if the payment remains unresolved after a set period
To configure dunning in Utterbond, go to "Dunning Settings" in the dashboard and set up:
- The retry schedule (for example, retry after 1 day, then 3 days, then 7 days)
- The email sequence to send customers
- What happens after the final retry (pause vs. cancel)
A thoughtful dunning setup can recover 20 to 30% of payments that would otherwise fail. That's real revenue you'd be leaving on the table without it.
Step 7: Set Up Email Notifications
Your subscribers should hear from you at the right moments, not too much, not too little.
In Utterbond, go to "Email and Notifications" and configure automated emails for:
- Upcoming charge reminder: Sent a few days before the next billing date. Customers appreciate the heads-up, and it reduces payment disputes.
- Successful charge confirmation: A simple receipt email after each recurring payment.
- Failed payment notification: Prompts customers to update their payment info. This ties into dunning.
- Subscription paused / resumed / cancelled: Transaction confirmations that build trust.
- New subscription welcome email: A warm welcome email that explains what to expect and how to manage their subscription sets the tone for the relationship.
You can customize the content and design of each email to match your brand voice. Keep them short, clear, and human. Subscribers respond better to genuine communication than corporate-sounding templates.
Step 8: Preview and Test Before Going Live
Before you tell the world, test everything yourself.
Use Shopify's test mode to place a test subscription order. Walk through the entire experience as a customer:
- Does the subscription widget appear correctly on the product page?
- Can you select a billing interval and add it to the cart?
- Does checkout complete successfully?
- Do you receive the welcome email?
- Can you access the customer portal and manage the subscription?
- Does the portal look right on mobile?
Check your payment gateway is properly connected and that test recurring charges process correctly.
Test the cancellation flow to make sure the retention steps (skip, pause, discount offer) appear as expected before the cancel option.
This 20-minute test run will catch 95% of potential issues before any real customers see them.
Step 9: Launch and Promote Your Subscription Offering
You're live. Now let customers know.
A few high-impact ways to promote subscriptions on your Shopify store:
Product page placement. Make the subscribe-and-save option visually prominent. A clear price comparison ("One-time: $29 / Subscribe and Save 15%: $24.65") helps customers immediately see the value.
Homepage banner. Feature your subscription offer on the homepage with a short, benefit-focused headline. "Never run out. Save 15% with a subscription."
Email your existing customers. Your current buyers are your warmest leads for subscriptions. Send a dedicated email explaining the subscription option and its benefits.
Post-purchase upsell. After a one-time purchase, show a prompt offering to convert it to a subscription. Utterbond supports this natively.
Pop-up or announcement bar. A simple site-wide banner can drive significant subscription awareness without being intrusive.
Want to earn passive income by recommending Utterbond? Check out the Utterbond affiliate program.
Quick Pre-Launch Checklist
Before you start promoting, run through this list:
- Utterbond installed and connected to payment gateway
- At least one subscription plan created
- Plan assigned to products
- Subscription widget visible on product pages
- Customer portal branded and configured
- Dunning schedule set up
- Email notifications enabled and customized
- Test order placed and full customer journey verified
- Mobile experience checked
Related Articles
- Best Shopify Subscription Apps: Honest Comparison
- What Features Should You Look for in a Shopify Subscription App?
- The Role of a Customer Portal in Subscription Experience and Retention
- What Is Dunning Management and Why It's Crucial for Subscription Businesses?
- How to Promote Your Shopify eCommerce Subscriptions Without Being Pushy
- The Long-Term Benefits of Adding a Subscription Model to Your Shopify Store
Conclusion
Building a subscription model on Shopify is no longer something only large brands do. Even small and growing stores are using subscriptions to create more stable revenue, improve customer retention, and make repeat purchasing easier for customers. The best part is that Shopify makes the setup process much simpler today than it was a few years ago. With the right subscription app, you can launch recurring billing, offer flexible plans, reduce failed payments, and give customers a better buying experience without needing technical expertise.
If you’re planning to start subscriptions on your Shopify store, focus on keeping the experience simple and customer-friendly from day one. Start with products customers already purchase regularly, test different subscription offers, and continuously improve based on customer behavior. Tools like Utterbond Subscriptions help simplify the entire process with features like smart dunning, customer portals, build-a-box subscriptions, and flexible billing options. Even starting with one subscription product can help create stronger long-term customer relationships and more predictable growth for your business.
Frequently Asked Questions
Does Shopify have a built-in subscription app?
Shopify has a basic native subscription tool called 'Shopify Subscriptions,' but it's limited — no build-a-box, no advanced customer portal, no bulk automations, and minimal email notifications. Most stores that take subscriptions seriously install a third-party app like Utterbond for the full feature set.
How much does it cost to add subscriptions to Shopify?
The app itself can be free. Utterbond is free to install with no revenue cap on the free plan. Your payment gateway may charge a transaction fee on each recurring charge — Shopify Payments does not charge an additional fee for subscription orders. Third-party gateways like Stripe typically charge 0.5% per transaction on recurring charges.
Do I need a developer to set up subscriptions on Shopify?
No. Utterbond installs via the Shopify App Store and the widget adds to your product page through Shopify's drag-and-drop Theme Editor. No code, no developer. Most merchants complete setup in under an hour.
What products work best for Shopify subscriptions?
Consumables and replenishables convert best: coffee, supplements, vitamins, pet food, skincare, cleaning products, baby supplies. Subscription boxes (curated or build-your-own) also work well. One-time purchases or products with irregular usage patterns are harder to convert to subscriptions.
How do I prevent subscribers from cancelling?
Three things reduce cancellation: a cancellation save flow (Utterbond's portal lets you offer a discount or pause before confirming cancellation), proactive renewal reminders so subscribers aren't surprised by charges, and product quality that makes the subscription feel worth it. The cancellation flow alone typically recovers 15–25% of cancellation attempts.
What is a Recharge alternative for Shopify?
Recharge is the largest subscription app for Shopify but starts at $99/month plus transaction fees. Most growing stores find better ROI with Utterbond, which is free to start, includes build-a-box and bulk automations, and holds the 'Built for Shopify' badge that Recharge doesn't have. Utterbond supports migration from Recharge with full subscriber data transfer.
How do I add subscriptions to a specific product on Shopify?
Install Utterbond, create a subscription plan, select the specific product when setting up the plan, and add the Utterbond widget to that product's page template in Shopify's Theme Editor. The subscription option only appears on product pages where the widget has been added and a plan exists for that product.
What is a Shopify subscription box?
A Shopify subscription box is a recurring delivery of curated or customisable products sold through a Shopify store. Customers subscribe, pay on a set schedule, and receive a box of products on each billing cycle. Utterbond's build-a-box feature lets customers build their own custom box from your product catalogue, rather than receiving a fixed curation.
How do I create a subscription box on Shopify?
Install Utterbond Subscriptions, create a Build-a-Box plan, select your products, set your billing frequency and pricing, add the widget to your product page, and test before launching. The full setup process is covered step by step in the Build-a-Box section above. Most merchants complete a subscription box setup in 30 minutes.
Boost Recurring Revenue with Shopify Subscriptions
Enhance your customers' lifetime value by introducing subscription options. Start now with the free Shopify Subscriptions app and build lasting relationships while securing a steady revenue stream.
Learn more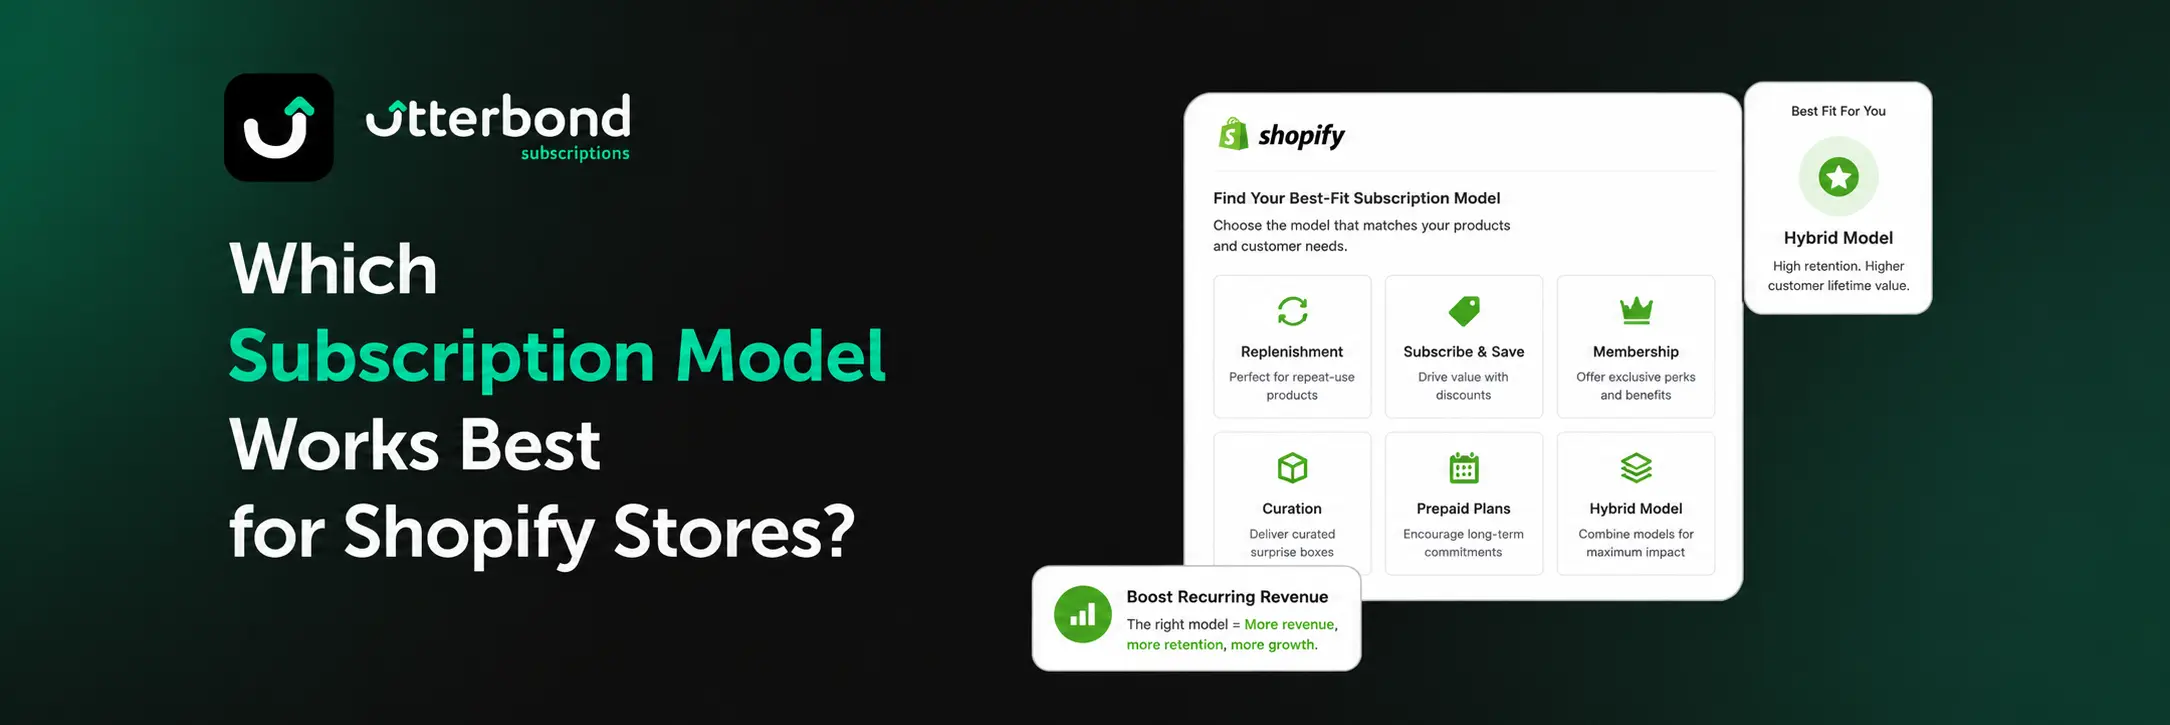
.svg)